
My project for the holiday break was to build a Walters plastic kit as a movie prop that my film-student son wanted to use for a stop-action animation project. I figured this was a good chance to practise a few techniques.
I had picked up a Walthers American Hardware Supply kit (below) for cheap at a show a couple of years ago and wasn’t planning on using it for the layout, so this was pretty low risk. I figured that if I ruined it, no biggie.
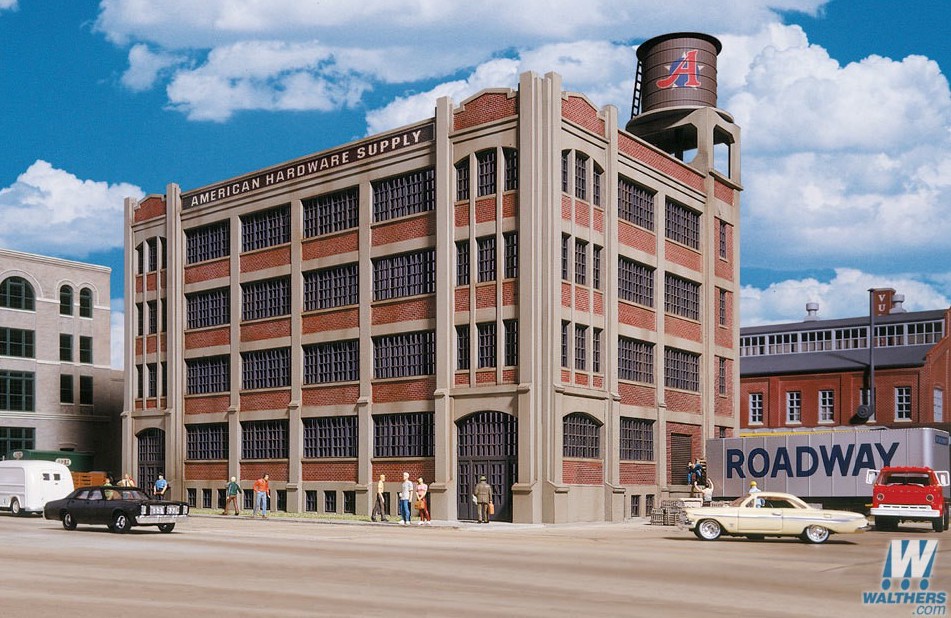
The challenge that I set myself was the following: Could I build the kit as per the instructions, however using all of my (limited) painting and weathering skills, make it look more like a craftsman kit?
In short, the design brief was to elevate the blah plastic kit and make it look decent. Here are a few thoughts and some of what I learned:
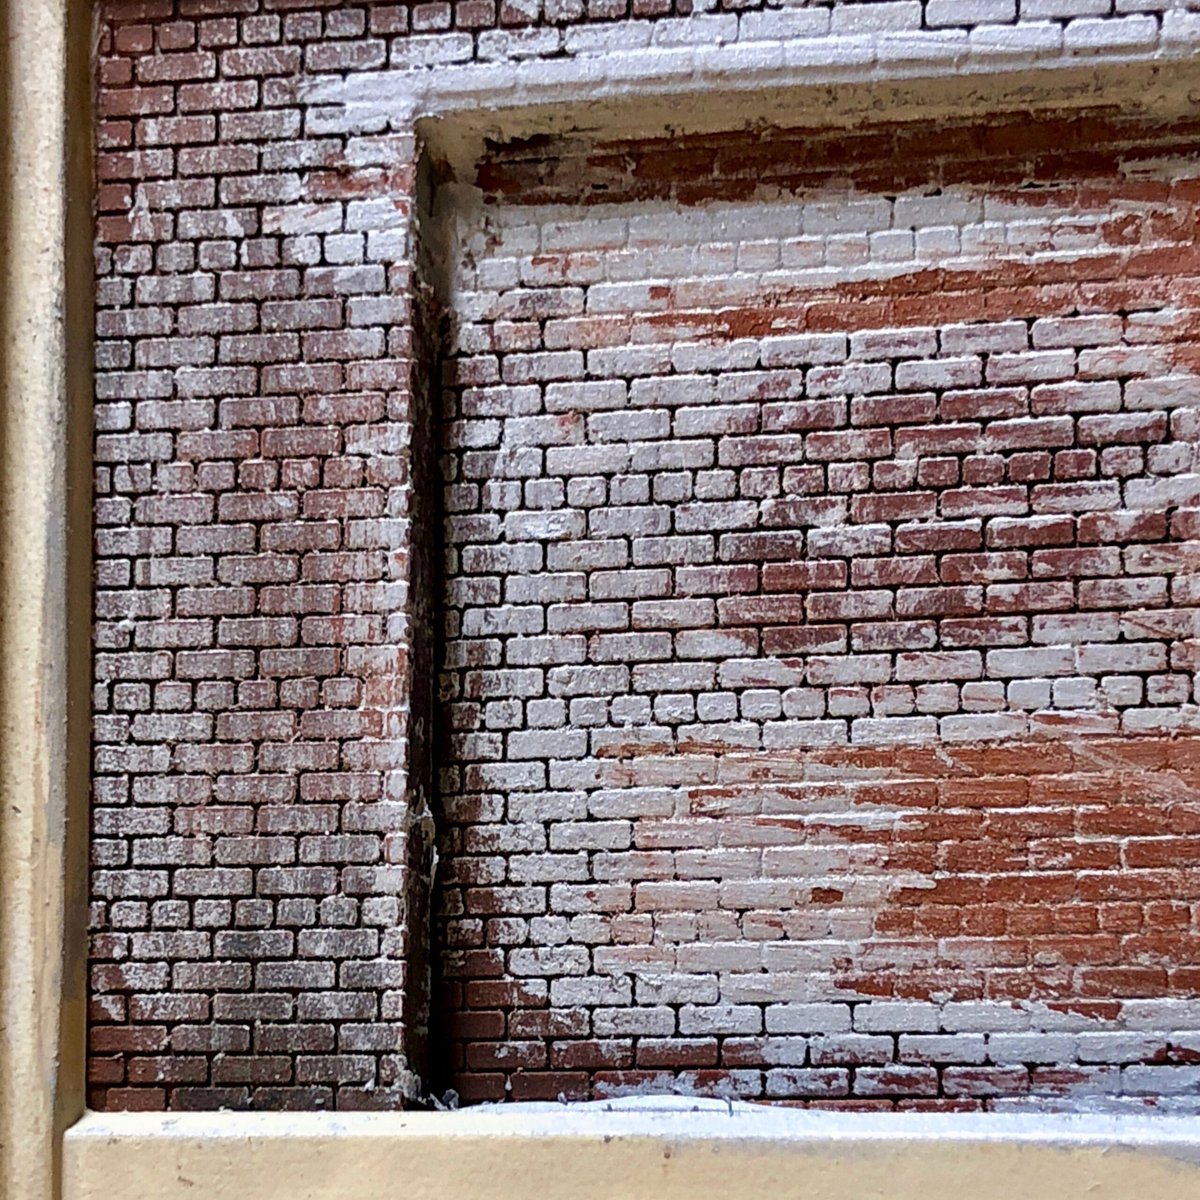
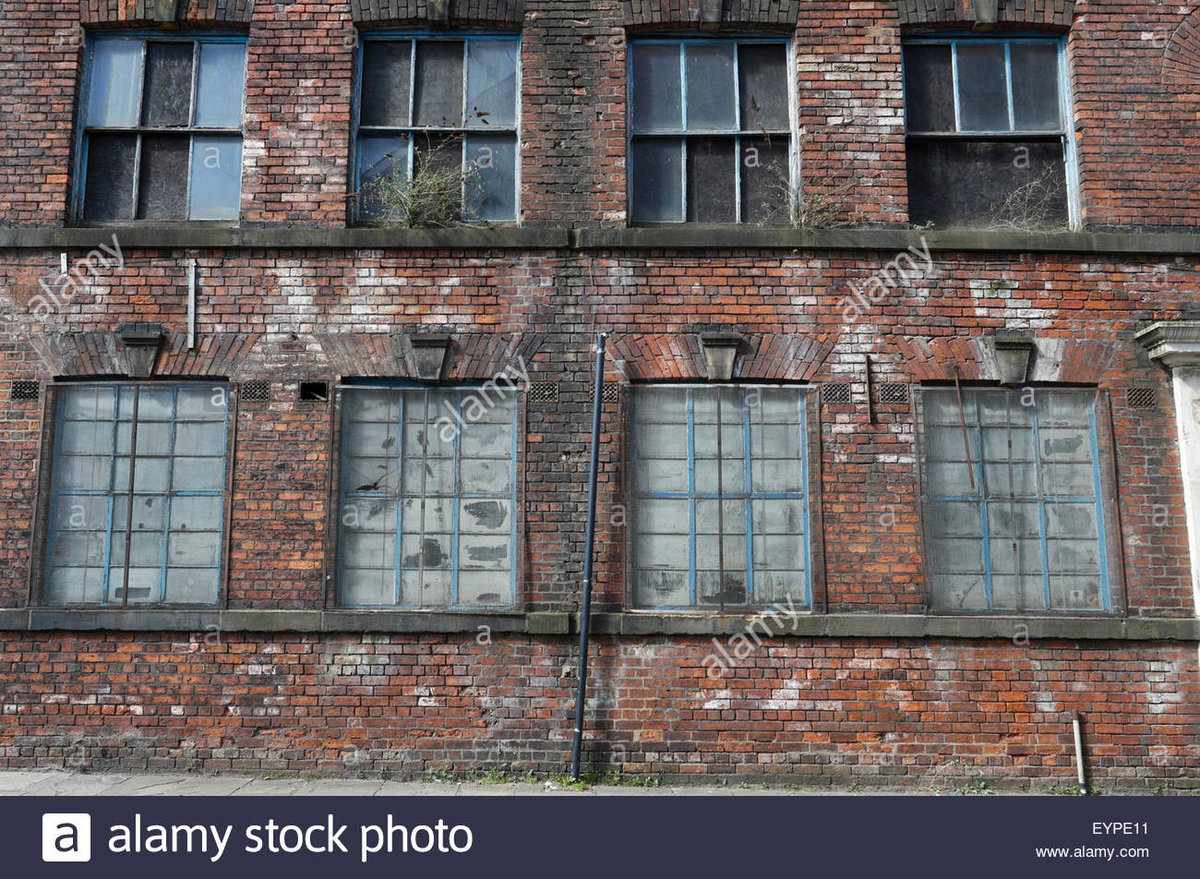
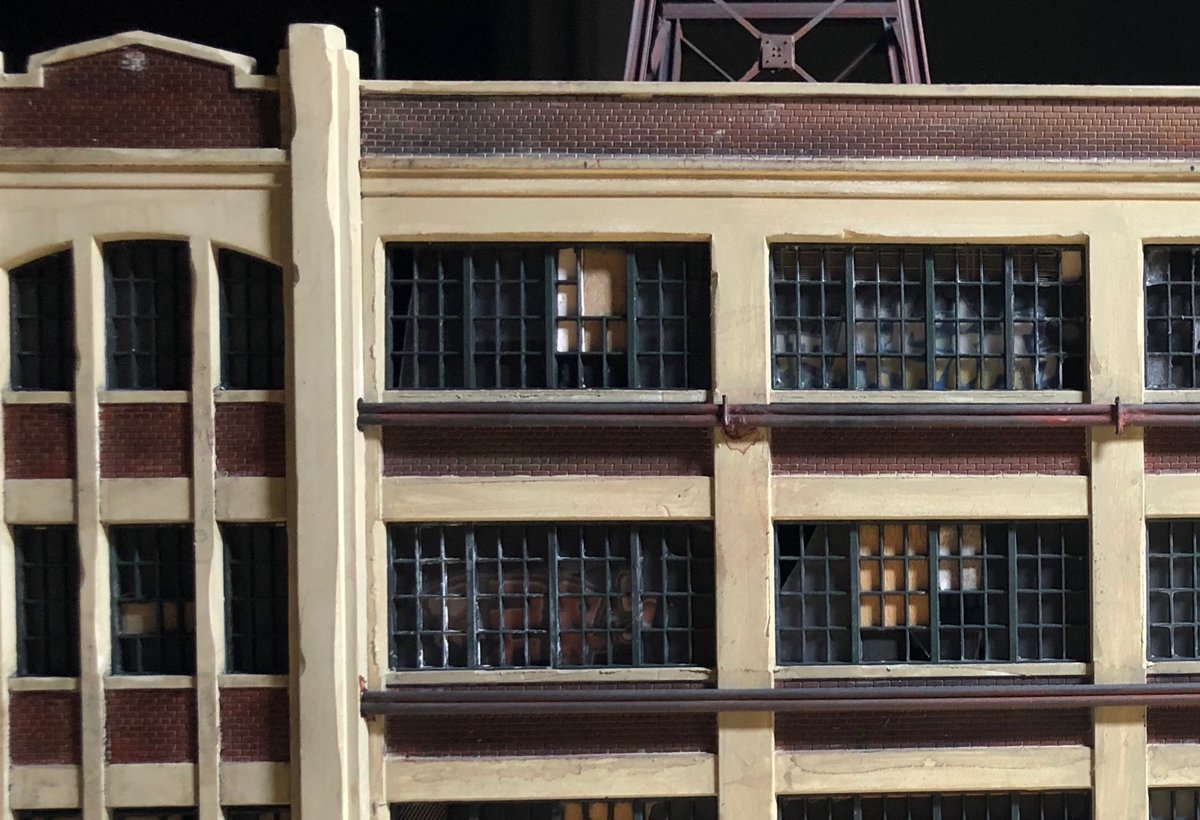
1. Observe the real world and work from photographs. Things don’t always look the way that you think they do. For example, tree bark isn’t brown, its grey. Concrete isn’t grey, it more of a taupe. And don’t get me started on bricks – WOW, just wow.I find that a lot of models look very uniform when in reality things are so incredibly random. I knew that I wanted this building to look really run-down and past it’s prime so I did a quick Google image internet search for “abandoned warehouse brick wall” and really tried to study the complexities of the real world.
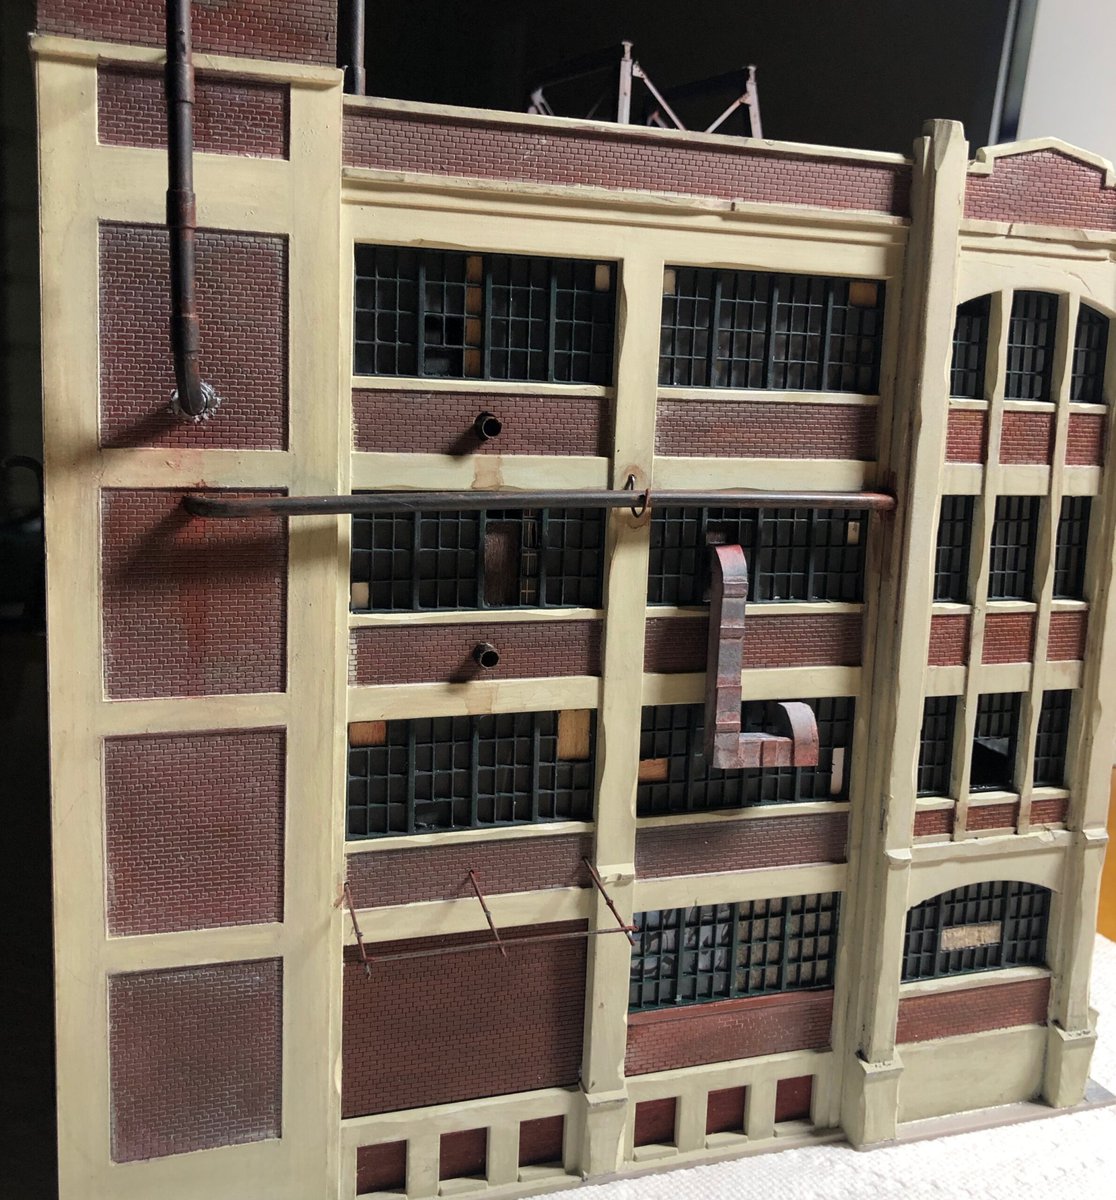
2. Don’t be afraid to chop, cut, break and destroy. Reality is imperfect and so should your model. Rough it up. I really tried to shave down the rough edges (see pic below). Clean, crisp plastic with perfect right angles – no thank you.
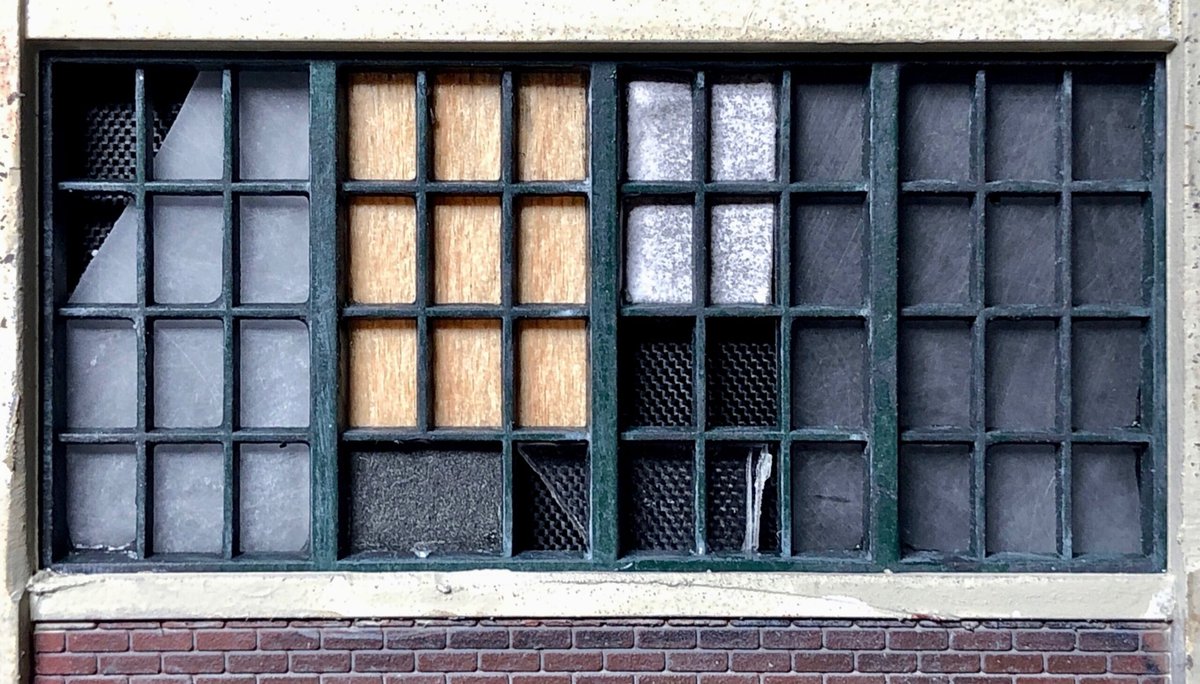
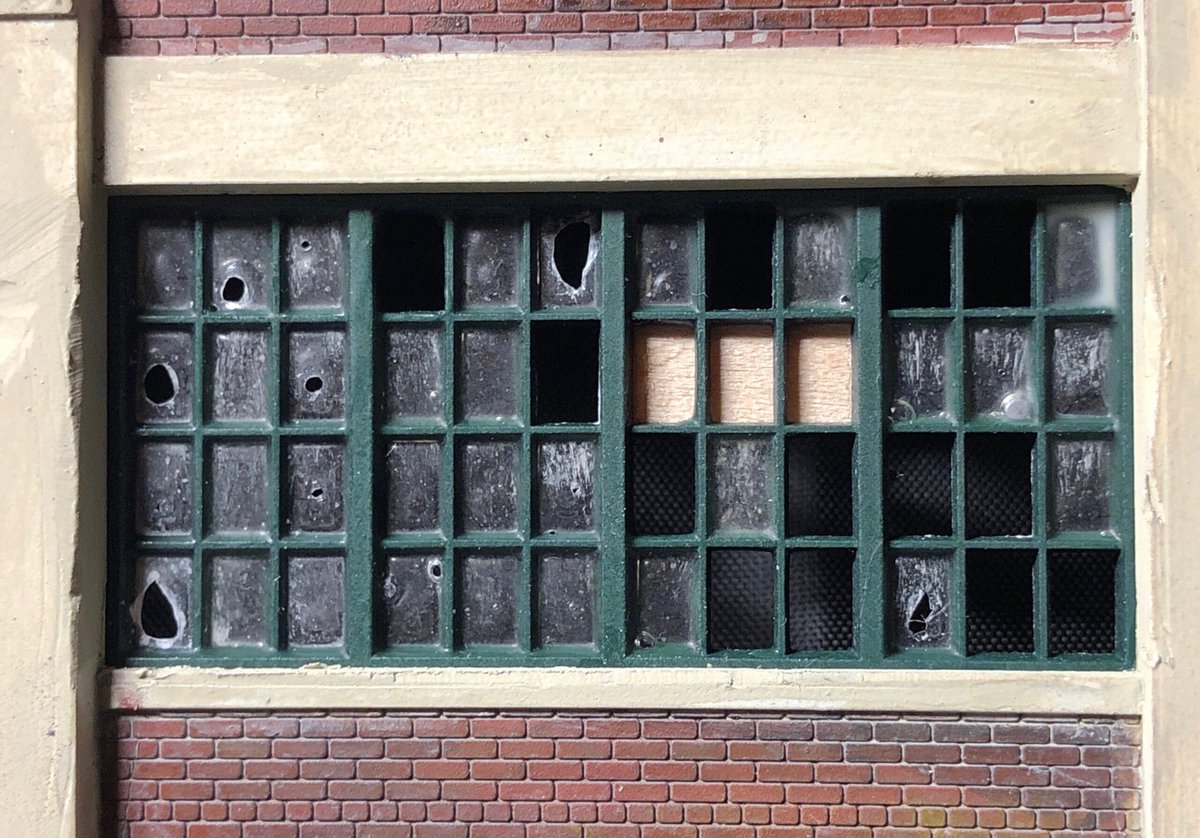
3. Play. Try. Fail and fail again. Get creative. Not everything will work but its usually worth trying a few new ideas to see which will give you the result that you are most happy with. There are usually many ways to achieve a specific look. For the windows I tried breaking plastic, used opaque scotch magic tape, a variety of clear glues, etc. I also used, paper, wood, screen…anything that might look interesting.

4. There are happy mistakes. (Otherwise known as, “I meant to do that”). I find that when it comes to weathering that less is MORE. But if you do overdo something – it can usually be ‘fixed’.
5. Paint everything BEFORE assembly and mask, mask mask and mask again. I’m a big fan of using rattle can spray paint as a base coat for the plastic pieces. Krylon ColorMaster Primer Oxide Red Ultra Flat is my goto for a base coat of brick and the Satin Ivory works well as a base for concrete. I’ll use acrylics applied usually by brush on top of the spray paint. Occasionally I’ll pull out the airbrush if I have to, but as I am without a spray booth at the moment, I try to avoid airbrushing. Good prep work at the pre-assembly stage while time consuming, does pay off with a much better looking model in the end.

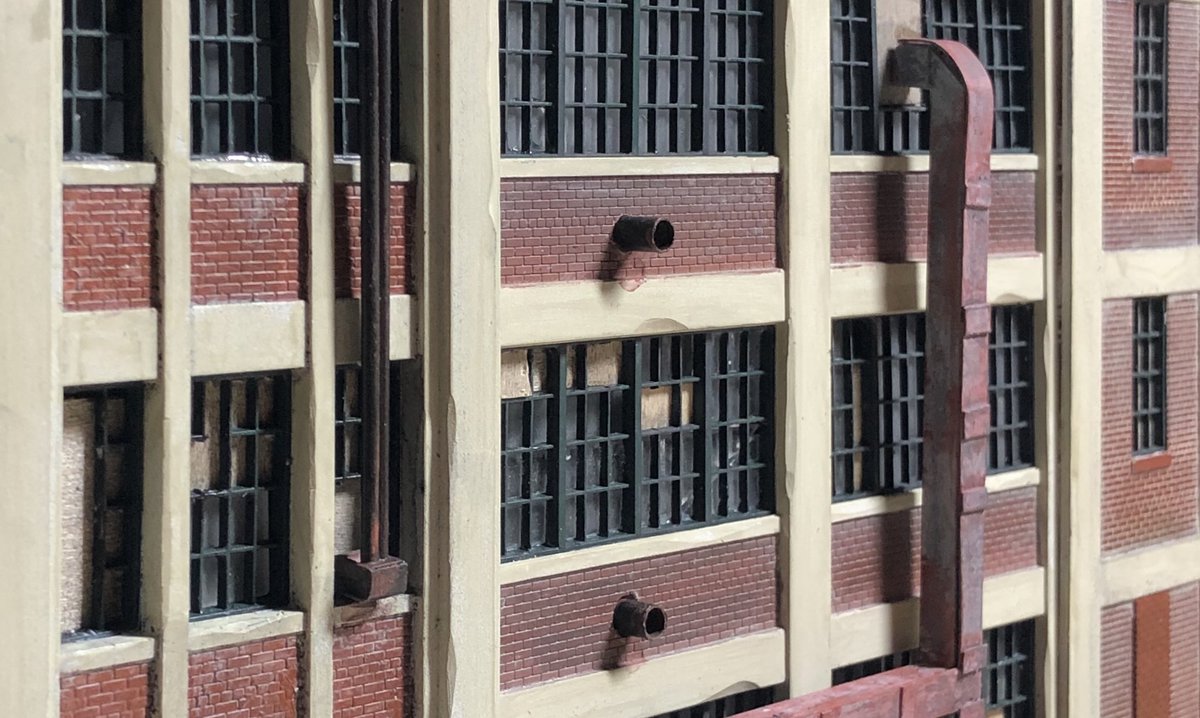
6. Add little details that are not part of the stock model. I call this ‘going down the rabbit hole’ as you can really get lost in the detail work. This for me is the fun part as it is the most creative. The photo research from prototypes can yield literally hundreds of little details than can be incorporated into your model to achieve that added realism. For example, I love all the piping that is found on factories and I have tried to incorporate this into my model.
7. WEAR disposable nitrile gloves. Seriously, its amazing how much better the model looks when you do not have fingerprints and glue smudges. Not to mention, that I have reduced the number of times that I Krazy glue my fingers together. I buy the 300 pack from Costco.ca for $20.

8. Alcohol and india ink is your friend. I ‘weather’ everything with a 70% isopropyl alcohol/india ink mix. It dulls down the freshly painted look and a few light washes added over time work better. Dullcoat also is an essential ‘tool’ to knock everything down.
9. Adhesives. LOVE them and always have a bunch on hand. My three top picks are canopy glue, Krazy Glue CA and Tamiya 87038 Extra Thin Cement.
10. Take a photograph of your work. Look at the photo and critique the photo and not the model. It’s amazing what your eyes miss looking at a ‘real’ model and can catch by looking at a photo. Or put another way, our eyes lie to us. Having read a little about this (may be a future blog post) all I can figure out is that what our eyes see isn’t really real, it is what our brain has created. Perhaps our brain process a flat 2D image differently than a 3D item?
And here is a BONUS lesson learned:
11. You are NEVER finished. But sometimes you need to just STOP.
“You are NEVER finished. But sometimes you need to just STOP.” Sometimes this is the key!
We have a large open space (far enough back that we can’t easily store stuff on it) on our club layout. Eventually it will be the town of Chester. We had a few early 20th century main street type buildings around, and several assembled without any painting that we have acquired. Well they are good for place holders.
A few of us have taken a few inexpensive kits, old Tyco, AHM, DPM, etc. Rattle canned several with Tamiya Dark Red to make them appear they all originated in the same brick works. Various colors for windows and doors etc. These were going to be background building a few streets back. They look like much more expensive kits with just a little easy work. Even a little effort to take the shine off the plastic yields a lot of improvement in appearance.